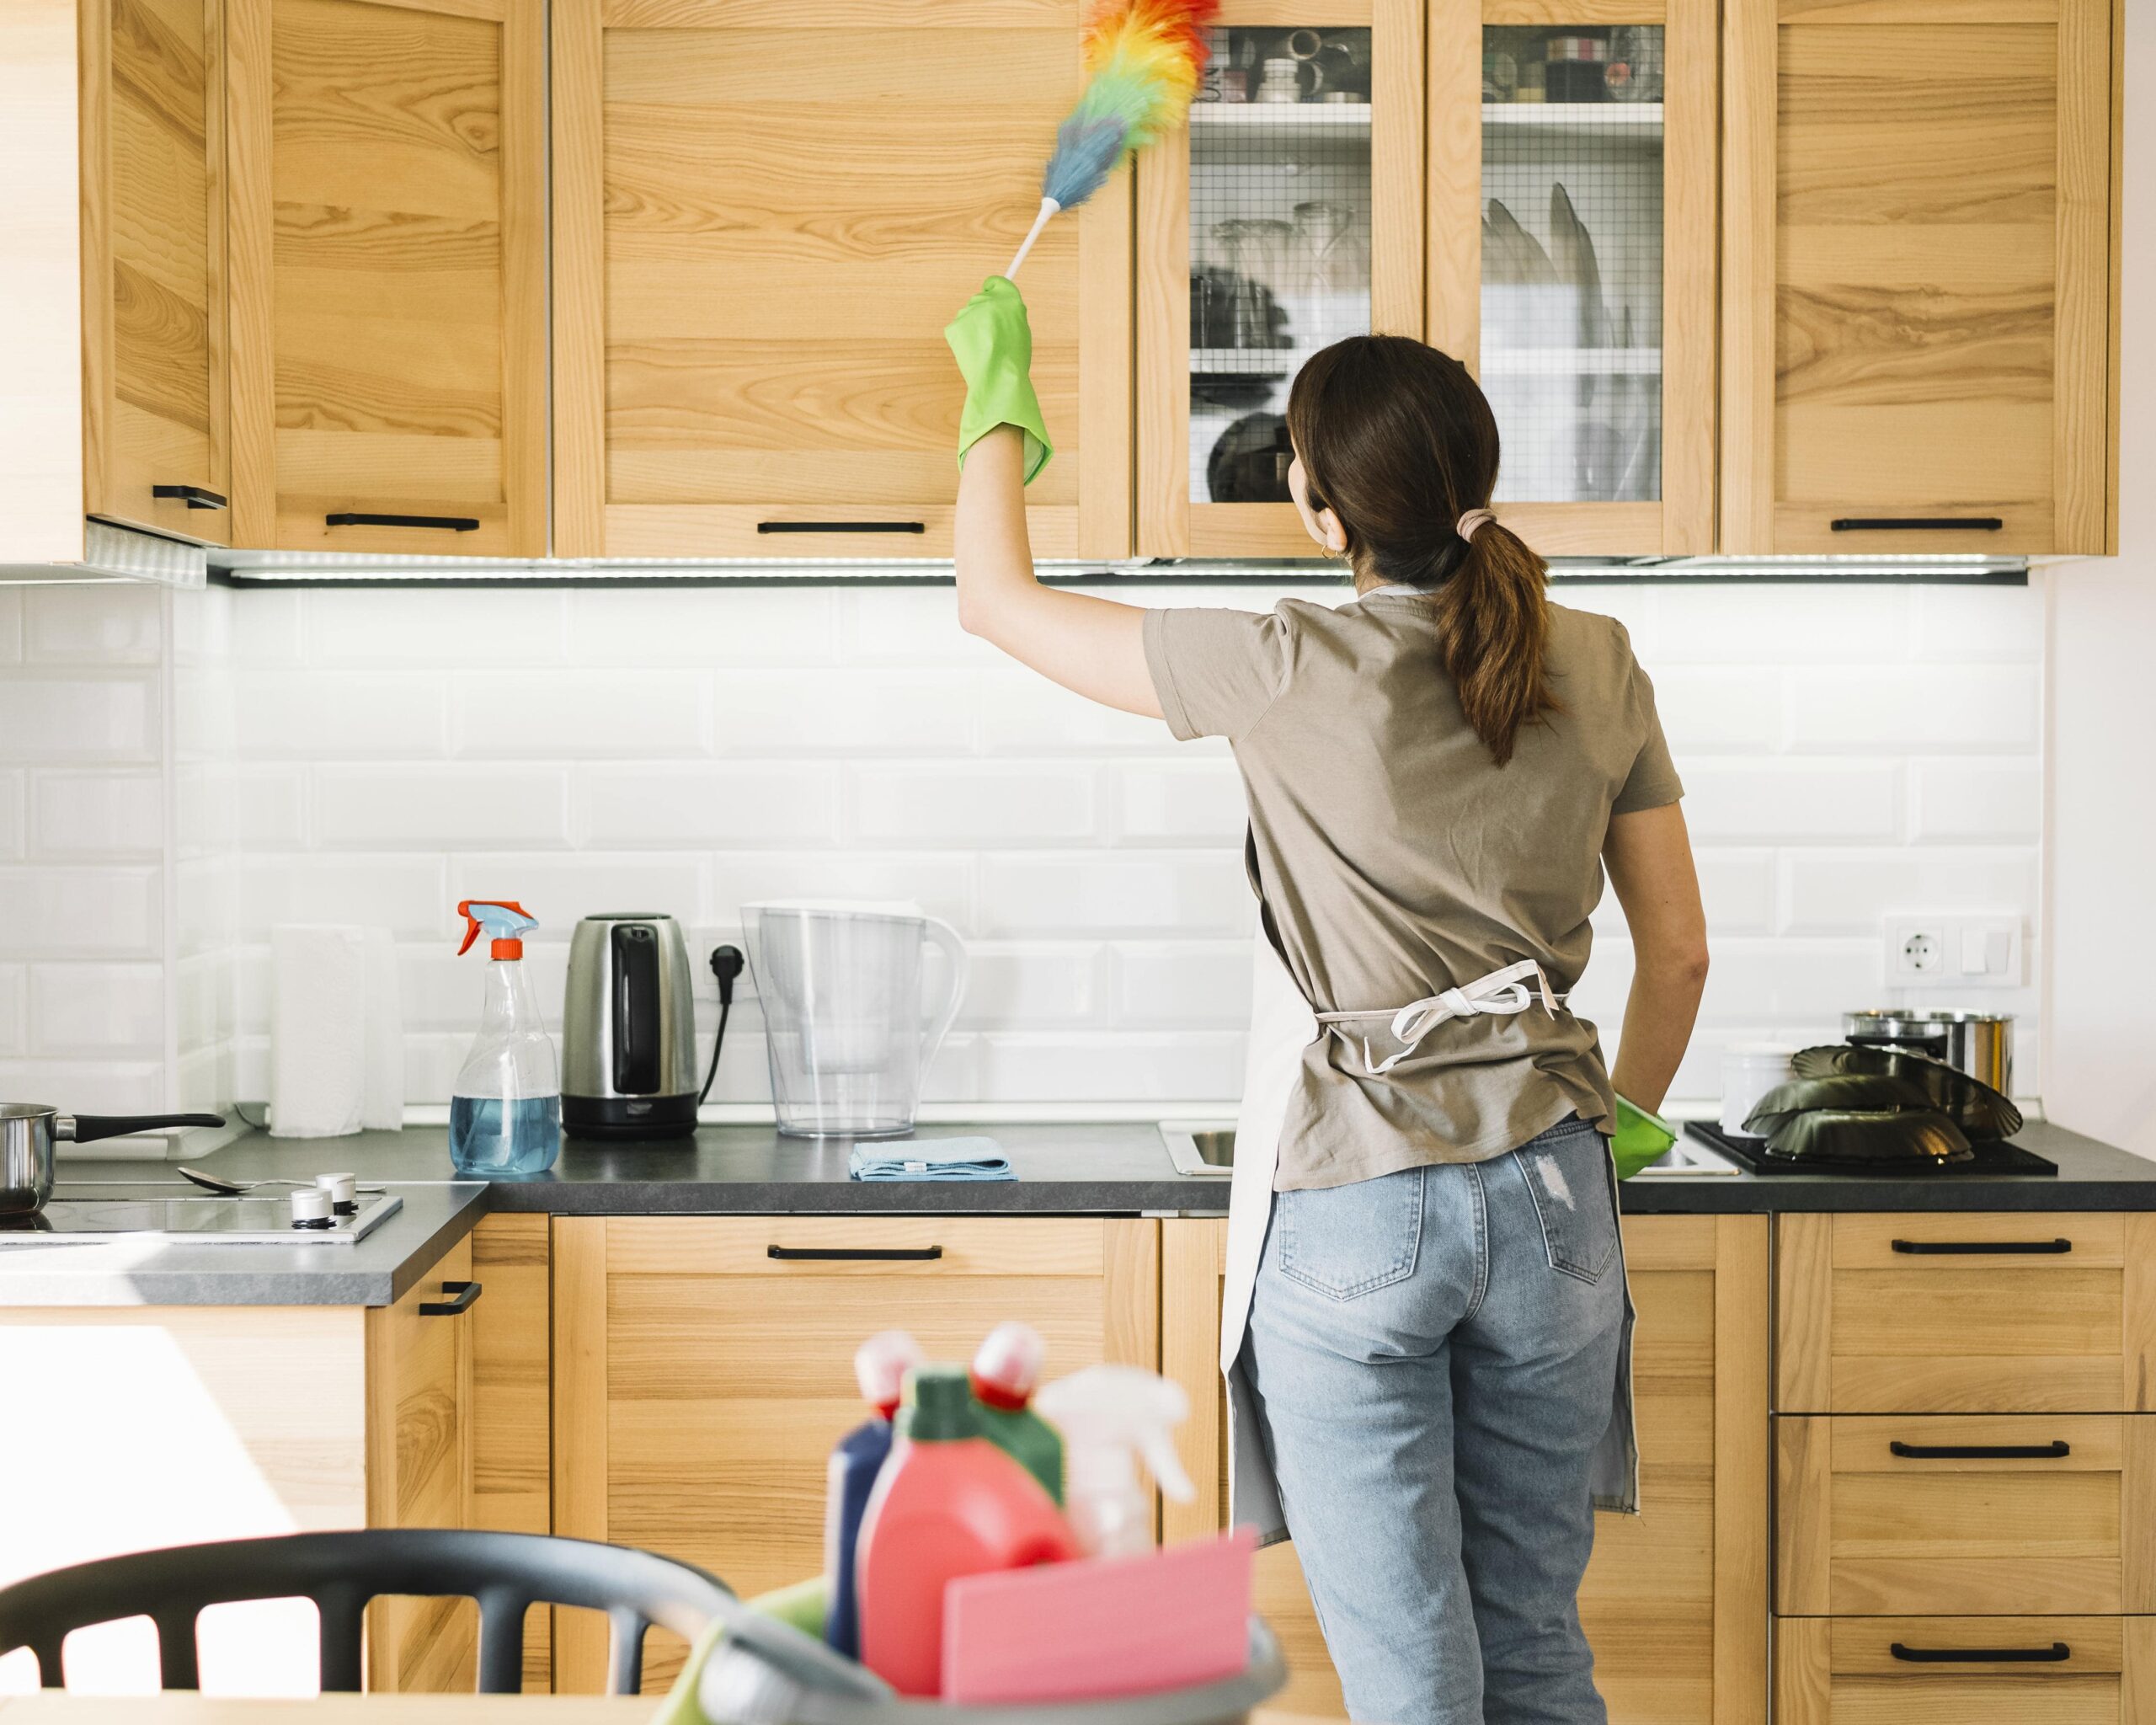
How to clean kitchen cabinets before painting No:1 Tip

Introduction
The first and most crucial step in giving your kitchen cabinets a makeover is to make sure they are well cleaned before starting any painting projects. By doing this, you can ensure that the paint adheres well to the cabinets’ surface and that you get the finest possible result. We’ll go through the crucial advice you need to know about cleaning kitchen cabinets before painting in this blog post, beginning with the most significant advice: tip No. 1.
Supplies you need to clean cabinets
Having the proper tools on hand is essential when cleaning kitchen cabinets before painting. The following are the necessities you will require:
1. All-purpose cleaner:
Look for an all-purpose cleaner that is soft, non-abrasive, and safe for the material of your cabinet. This will aid in removing accumulated grease, filth, and grime.
2. Microfiber cloths:
These smooth, absorbent cloths won’t harm surfaces or leave behind lint, making them ideal for cleaning cabinets. They can simply clean the surface of dirt and dust.
3. Bucket or spray bottle:
Mixing and applying the cleaner to your cabinets will be simpler if you have a bucket or spray bottle. You may manage how much solution you use in this way.
4. A soft-bristle brush or toothbrush:
These might be useful for tackling tough stains or difficult-to-reach places. Scrub the surface lightly to get rid of any buildup or filth.
5. Gloves:
Use gloves to shield your hands from corrosive chemicals and dangerous splinters. You’ll be protected, and your skin will stay clean, if you do this.
You’ll be prepared to completely clean your kitchen cabinets before painting, resulting in a smooth and durable finish, if you have these necessary items on hand.
Steps on how to clean kitchen cabinets before painting
After gathering all the necessary materials, it is now time to begin cleaning your kitchen cabinets in preparation for painting.
First, empty the cabinets of all objects, including plates, food, and utensils. This will enable you to clean the cabinets thoroughly and give you access to every part of them.
Step 1: To begin, use a dry microfiber cloth to wipe down the cabinets to get rid of any loose dust or debris. The cleaning procedure will be more successful as a result.
Step 2: Follow the directions on the bottle to prepare your all-purpose cleanser. If you’d rather make your own solution, you can make a natural and potent cleanser by combining vinegar and water in equal parts.
Step 3: Squeeze off any extra liquid after dipping a microfiber cloth into the cleaning solution. Start wiping the cabinets clean, working your way down from the top. Make sure to clean the cabinets’ interior and exterior.
Step 4: Dip a soft-bristle brush or toothbrush in the cleaning solution to remove any tough stains or gooey buildup. Scrub the area gently until the stain disappears.
Step 5: Wipe down the cabinets with a damp microfiber towel to remove any leftover cleaning agent after cleaning them.
Step 6: As a last step in your painting endeavor, give the cabinets enough time to completely dry before continuing.
You can be sure that your kitchen cabinets are thoroughly cleaned and prepared for a new coat of paint by following these instructions.
Removing grease and grime
To ensure a clean and smooth surface for painting, it’s crucial to remove grease and grime from your kitchen cabinets. Over time, grease and grime can accumulate, especially in places close to the stove or sink. Apply a grease-cutting cleanser or a solution of dish soap and warm water to start attacking this. Scrub the grease and grime away with a microfiber cloth or soft brush, paying close attention to any areas where a lot of buildup has occurred. To get rid of any leftovers, wipe with a fresh, wet towel. You might need to repeat the process or use a more powerful cleaner if the grease and filth are really difficult to remove. The cabinets will be prepared for sanding, priming, and ultimately painting once they have been cleaned of grease and filth.
Sanding and priming the cabinets
An essential stage in the painting process is sanding and priming your kitchen cabinets. Sanding the cabinets after cleaning them will help create a surface that is even and smooth for the paint to adhere to. With fine-grit sandpaper, softly sand the cabinets to begin, paying particular attention to any rough edges or flaws. This will assist in getting rid of any leftover debris or outdated paint that can interfere with the new coat. It’s time to prime the cabinets once they have been sanded. Paint will adhere better and have a stronger foundation thanks to primer. Apply a thin, even coat of primer to the cabinets using a brush or roller, making sure to coat every surface. Before moving on to the next stage of your painting endeavor, let the primer completely dry. You can get a polished and long-lasting finish on your cabinets by carefully sanding and priming them.
Prepping the cabinets for paint
It’s time to get ready to paint your kitchen cabinets after washing and sanding them. This stage is essential to achieving a tidy and expert finish. Start by looking over the cabinets for any flaws or spots that might need to be filled or fixed. Fill in any holes or scratches with wood filler, then sand the area to make it smooth. Next, take out any hardware, including handles or knobs, and clean it individually. Protect parts that you don’t want painted, such as cabinet interiors and cabinet edges, by covering them with painter’s tape. Before painting, give the cabinets one more wipe-down to get rid of any remaining dust or debris. You’ll be one step closer to obtaining a lovely and durable paint job by properly preparing your cabinets.
Final Touches for a Professional Look
There are a few finishing touches you can use to give your freshly painted kitchen cabinets a polished and professional appearance. Start by thinking about including a clear protective topcoat. This will give your cabinets a smooth and glossy appearance in addition to shielding the paint from normal wear and tear. Reattach any hardware you removed before painting it carefully next. Knobs, handles, and hinges are included in this. Verify that they are correctly aligned and tightly fastened. Last but not least, sit back and assess your cabinets as a whole. Search for any flaws or locations that might require touch-ups. To ensure a flawless outcome, don’t be hesitant to make any necessary revisions. To ensure a flawless outcome, don’t be hesitant to make any necessary revisions. Your kitchen cabinets will look properly renovated and prepared to dazzle if you pay attention to these last few touches.
Conclusion
This article concludes by offering a thorough tutorial on how to successfully clean, prep, and paint kitchen cabinets for a complete makeover. It highlights the significance of thorough cleaning, lists the necessary tools and equipment, and provides step-by-step directions to guarantee that cabinets are fully cleaned and prepared for painting.
The essay emphasizes the necessity of a clean, flat surface for painting while addressing the unique difficulties of eliminating grease and grime. It talks about how important steps like priming and sanding are for getting a glossy, long-lasting surface.
The page also lists the steps that must be taken before painting, such as plugging holes, removing hardware, and covering areas that are not intended for painting. It also recommends including a clear protective finish for a polished appearance.


