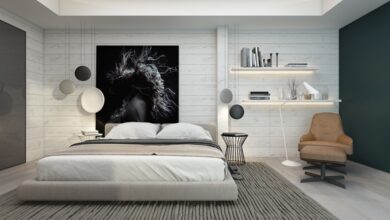
How to paint a wall with a roller without streaks? Well, in this article, we will discuss the expert techniques and insider tips to achieve a flawless, streak-free finish. Say goodbye to uneven coats and hello to a professional-looking paint job. Let’s unveil the secrets to perfecting your painting skills and creating a stunning transformation for your walls!
Preparing the Wall [How to paint a wall with a roller without streaks]
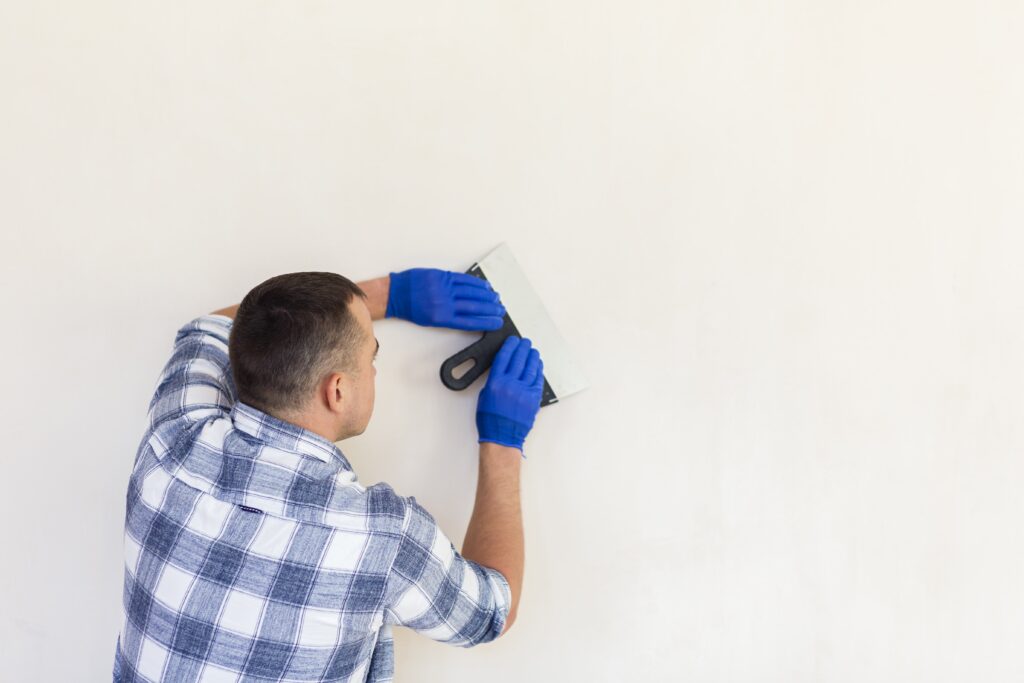
Clean the Surface:
Take a damp cloth and thoroughly wipe down the wall to remove any accumulated dust, dirt, or grease. A perfect finish begins with a clean surface.
Patch Imperfections:
Inspect the wall for any holes, cracks, or blemishes. Use spackling compound to fill them in, and then sand the patched areas until they are smooth and level with the rest of the wall.
Prime the Wall (Optional):
If your wall has noticeable color variations or is porous, applying a coat of primer can create an even base for the paint, resulting in better adhesion and a consistent finish.
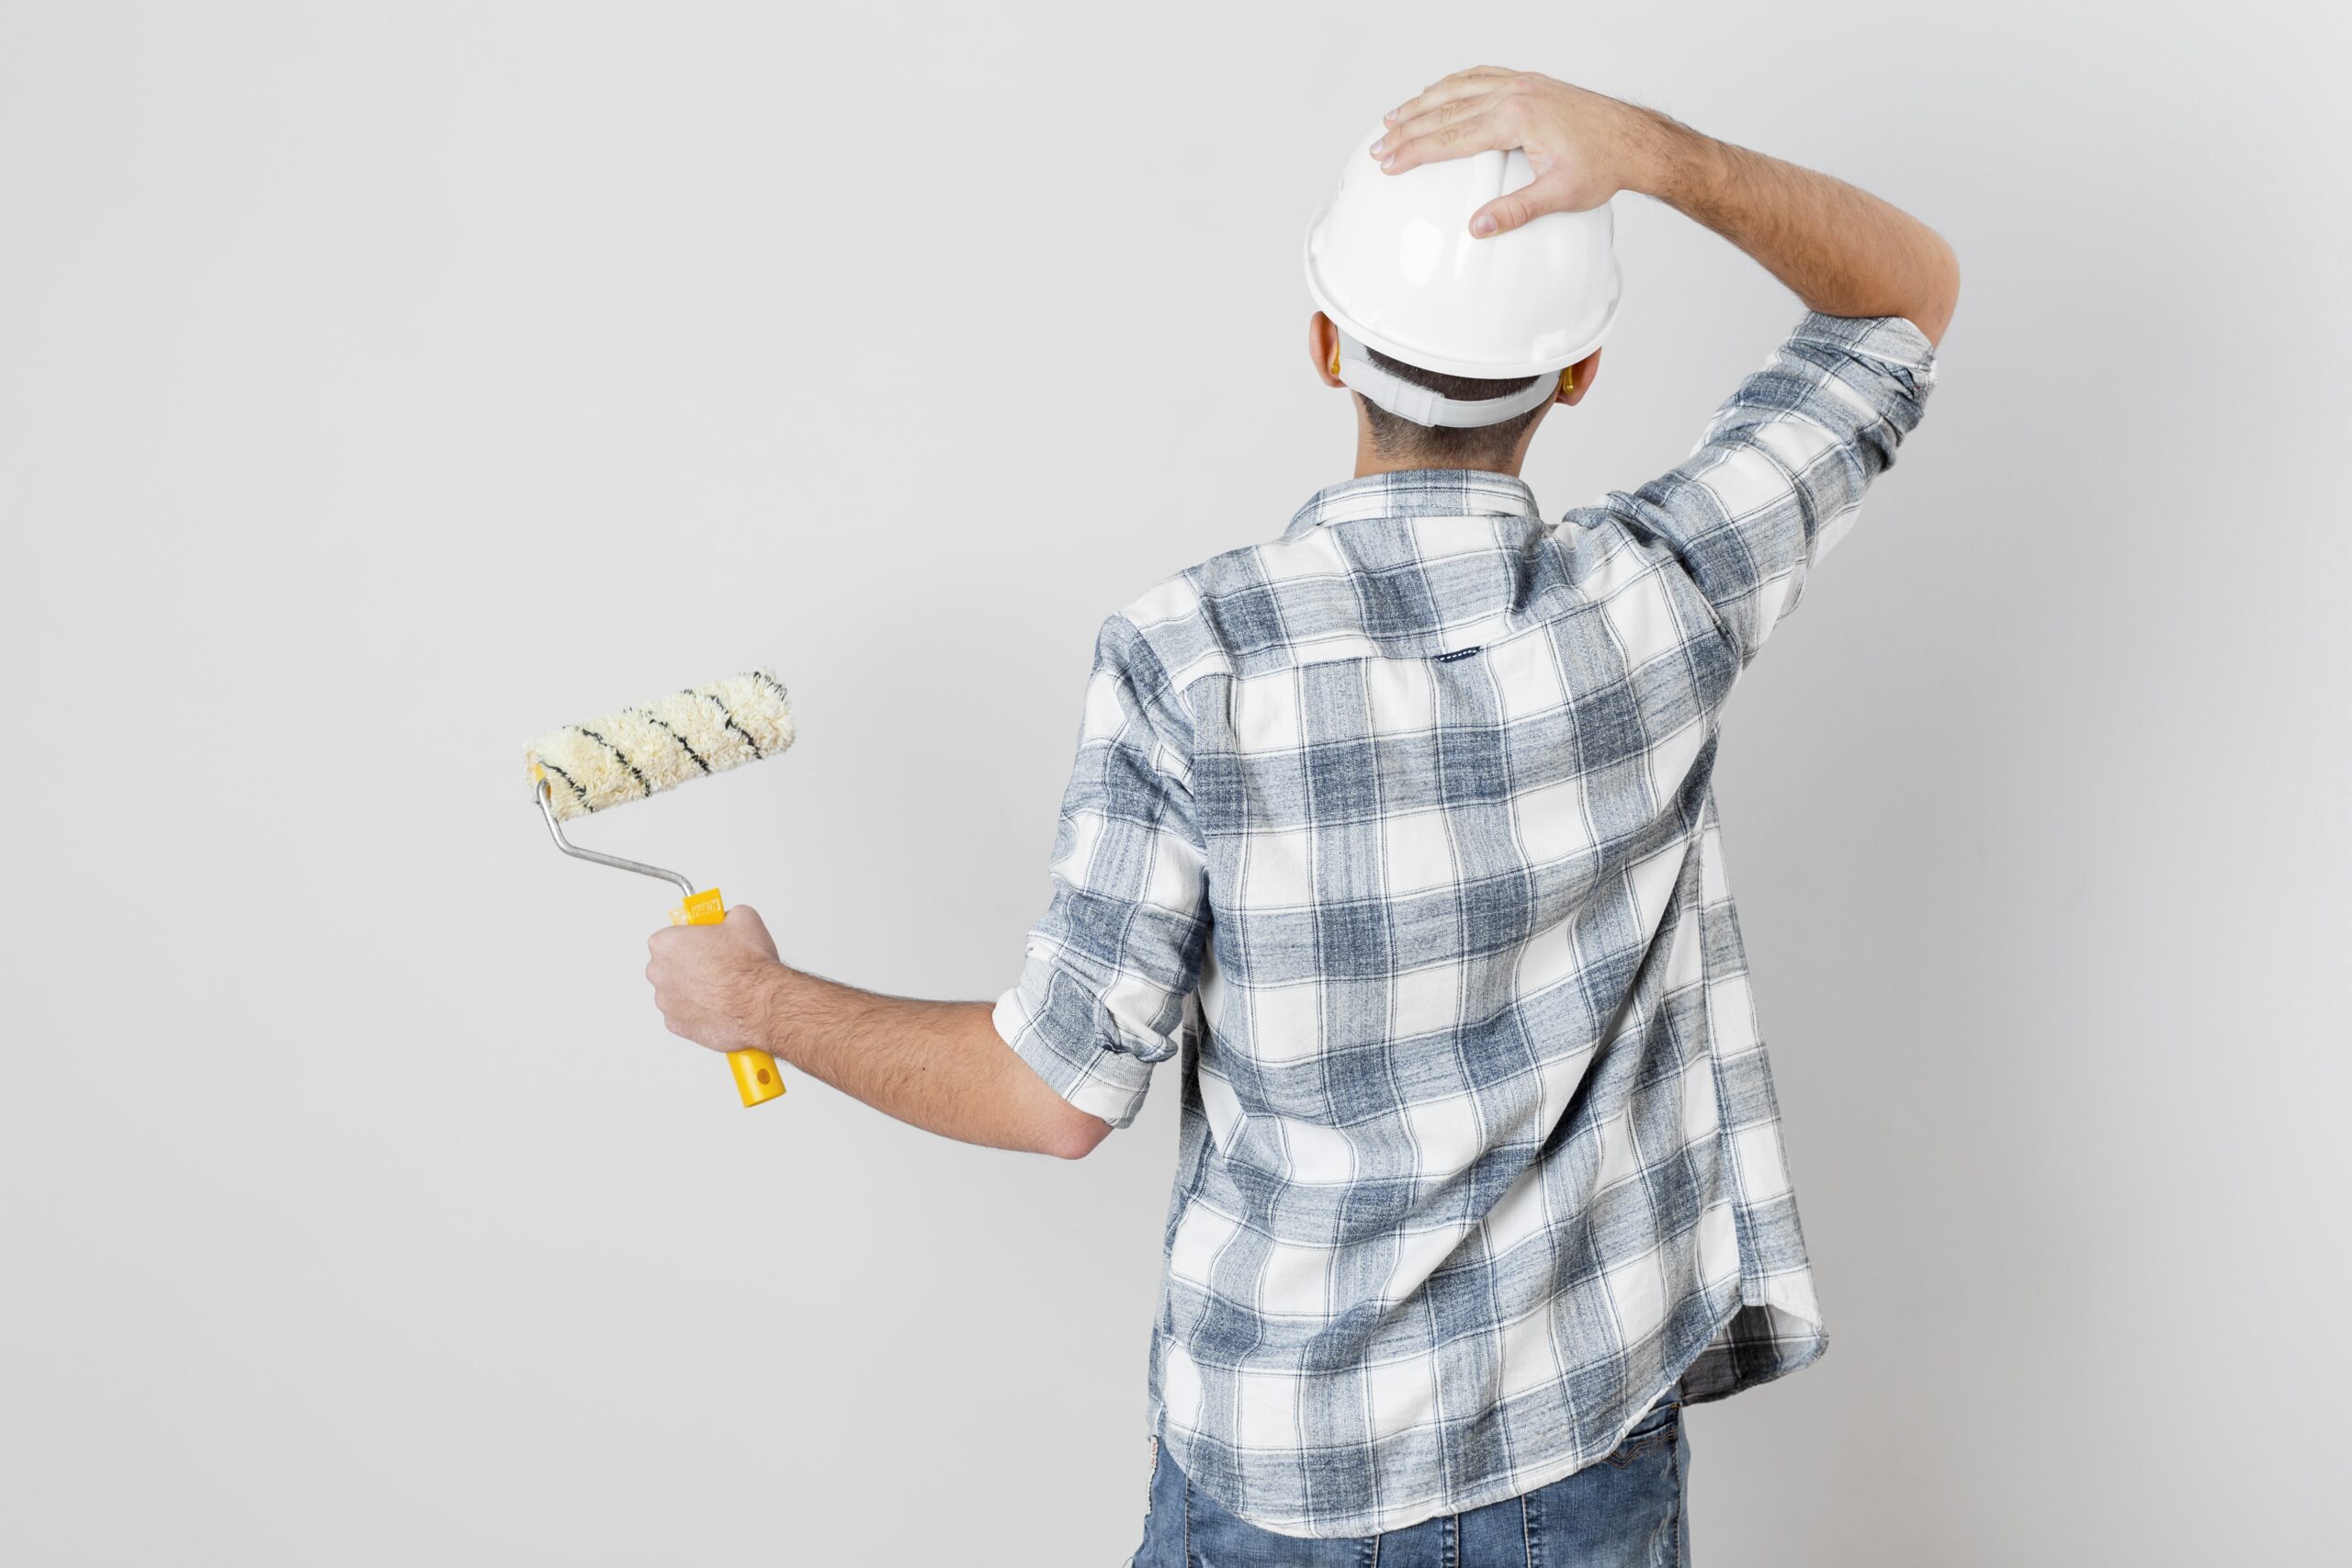
Choosing the Right Roller
Selecting the appropriate roller is a pivotal step in achieving a streak-free paint job. Follow these guidelines to ensure you have the right roller for your painting project:
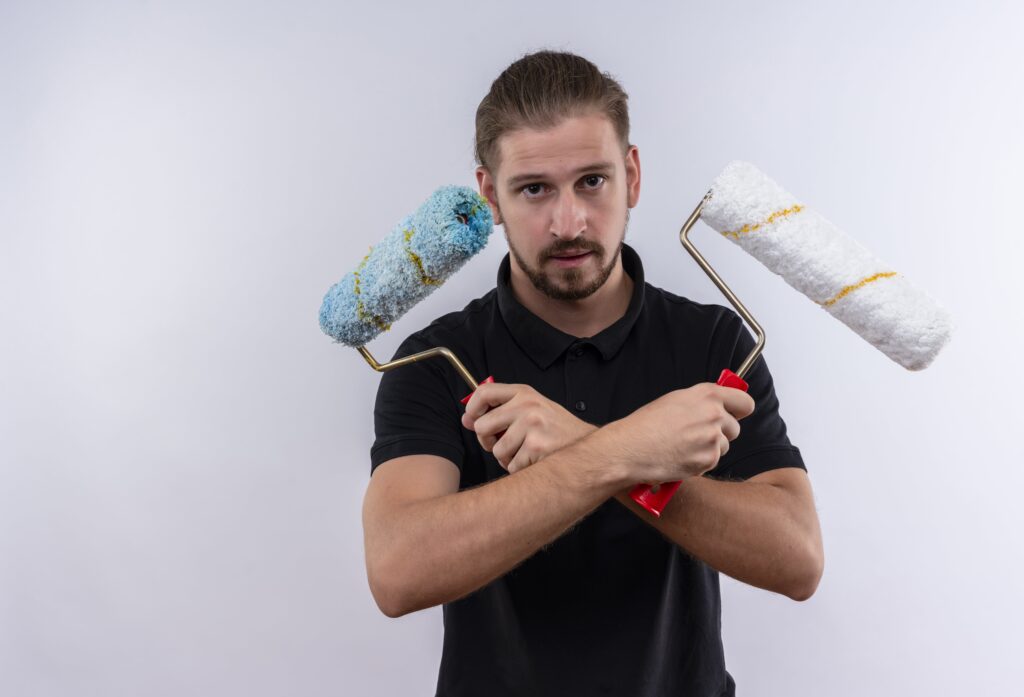
Opt for a High-Quality Roller:
Investing in a high-quality roller is essential for achieving smooth and even coverage. Cheaper rollers may shed fibers or leave behind streaks, compromising the final result.
Consider the Nap Length:
For painting walls, a medium nap length of around 3/8 to 1/2 inch is generally recommended. This length strikes a balance, allowing the roller to hold enough paint while providing a smooth finish.
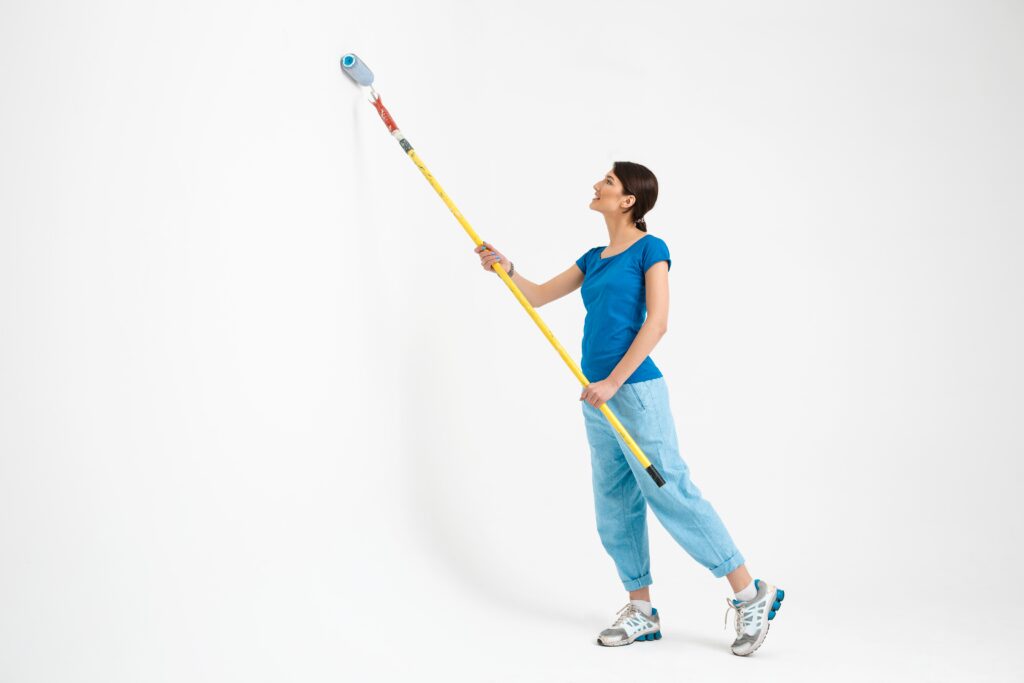
Choose the Right Roller Width:
Select a roller width that suits the size of your wall. For average walls, a roller width of approximately 9 inches is ideal. Smaller widths are useful for tight spaces, while wider ones are suitable for large, expansive surfaces.
Gathering the Necessary Tools
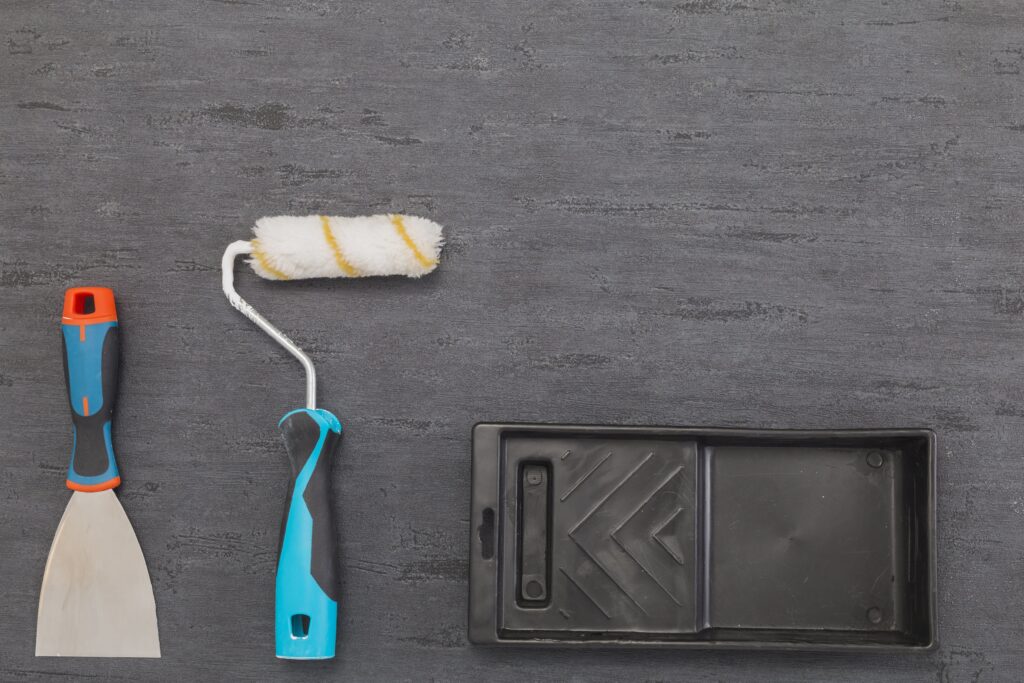
Roller Tray:
A sturdy and flat roller tray is essential for loading the roller with paint evenly. It allows for smooth and consistent paint distribution, minimizing the risk of streaks.
High-Quality Paint:
Choose a paint specifically designed for the surface you’re painting (e.g., interior walls). Opt for a high-quality paint that offers good coverage and a smooth finish.
Roller Cover:
Select a roller cover with the appropriate nap length for your project. Ensure it fits your roller frame securely and is compatible with the type of paint you’re using.
Paintbrush (optional):
While a roller is excellent for large surface areas, having a paintbrush handy can be beneficial for cutting in and reaching corners and edges with precision.
Drop Cloths:
Protect your floors and furniture by laying down drop cloths or plastic sheeting to catch any accidental drips or spills.
Painter’s Tape:
Mask off areas that you don’t want to paint with painter’s tape, such as trim, baseboards, and windows. This helps achieve clean, straight lines.
Stirring Sticks:
Ensure your paint is thoroughly mixed by using stirring sticks to blend any settled pigments.
Rags and Cleaning Supplies:
Keep rags or paper towels on hand for quick cleanup of any spills, drips, or mistakes during the painting process.
Proper Roller Techniques
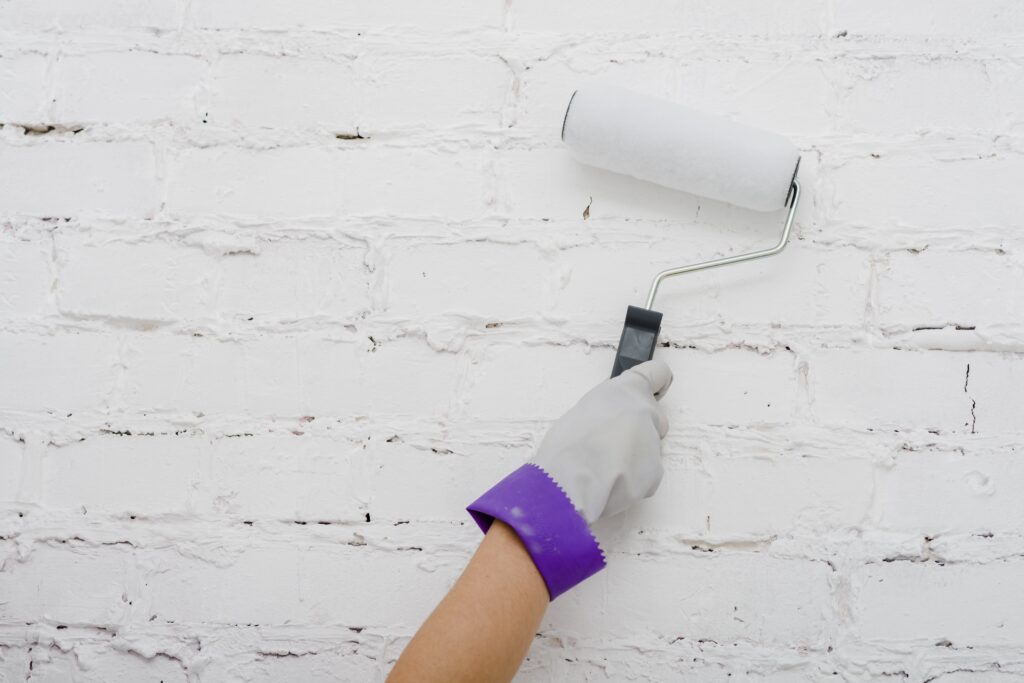
Mastering the correct roller techniques is the key to achieving a streak-free paint job and a polished finish on your walls. Follow these essential steps for flawless results:
Wet the Roller:
Before you start painting, dampen the roller cover slightly with water. This helps the paint adhere better to the roller, ensuring smoother application.
Load the Roller Evenly:
Dip the dampened roller into the paint tray, rolling it back and forth to distribute the paint evenly across the roller cover.
Remove Excess Paint:
To prevent drips and streaks, roll the loaded roller on the textured part of the paint tray or use a roller screen to remove any excess paint.
Divide the Wall into Sections:
Work on small, manageable sections of the wall at a time to maintain control and achieve even coverage.
Apply the Paint in a “W” Pattern:
Start at the top of the section and paint a “W” pattern on the wall. This technique helps evenly distribute the paint and reduces streaks.
Blend Each Section:
After applying the “W” pattern, go back and lightly roll over the area in vertical strokes to blend any visible lines and create a seamless finish.
Maintain a Consistent Speed and Pressure:
Roll the paint onto the wall with a consistent speed and pressure to ensure a uniform application and minimize streaks.
Keep a Wet Edge:
Avoid letting the paint dry completely between sections. Maintain a “wet edge” by overlapping each stroke slightly, ensuring a smooth transition between areas.
Apply a Second Coat (if needed):
Once the first coat is dry, inspect the wall for any streaks or thin areas. If necessary, apply a second coat for complete coverage and a professional finish.
Additional Tips
Maintain a consistent roller pressure to avoid pressing too hard or too lightly, ensuring an even coat of paint without streaks. Keep a wet edge while working efficiently to prevent visible lines between sections and maintain a seamless finish. Inspect your painted wall under natural light to spot any imperfections that might not be apparent under artificial lighting. Practice patience and learn from each painting session to improve your technique. By incorporating these essential tips, you’ll enhance your skills and achieve flawlessly painted walls without streaks.
Conclusion:
In conclusion, mastering the art of streak-free painting is within your reach with these invaluable expert tips. By maintaining a consistent roller pressure, you’ll ensure an even coat of paint without unsightly streaks, giving your walls a smooth and flawless appearance. Keeping a wet edge during your painting process will work wonders in preventing visible lines between sections, creating a seamless and professional finish that enhances the overall aesthetic of your space. Remember to inspect your painted walls under natural light to catch any imperfections that may not be apparent under artificial lighting, allowing you to make necessary touch-ups for a picture-perfect result. As with any skill, practice and patience are key to improvement, so embrace each painting session as an opportunity to refine your technique and achieve exceptional outcomes. Armed with these essential tips, you’ll embark on a journey of transforming your walls with confidence, leaving behind streaks and creating stunning, polished surfaces that exude elegance and sophistication. Happy painting!